What to Know About Waterproofing Your Rooftop

During harsh rainstorms, water can accumulate on your roof and seep through roof cracks, damaging your commercial building. As a result, mold and mildew could grow on your walls, and the wooden components of your building can rot. You can prevent moisture damage to your commercial space by waterproofing your rooftop. Whether your roof is flat or sloped, our team at Houck can help you have a high-quality, safe roof with our waterproofing services.
Instead of spending time and money to replace your whole roof, you can apply a waterproof coating to keep water out of the building. Use this roofing and waterproofing guide to keep moisture away from your commercial roof and all its components.
Factors to Consider When Choosing Roof Waterproofing
Though there are several types of waterproofing, you need the best one for your application. Look for the following properties to help you choose the right waterproofing membrane for your commercial roof.
- Compatibility with the existing roof surface: Pay attention to the type of material of the existing coating on your single-ply roof to avoid costly damage. For example, applying urethane over acrylic elastomeric could cause re-emulsification. Any surface with silicone on top would obstruct the adhesion of the waterproofing membrane.
- Resistance to sunlight damage: Unless you have trees above your building, the waterproofing membrane needs to be ultraviolet (UV) stable or resistant. Otherwise, it’ll lose its strength as the sun beats down on it.
- Elongation: The waterproofing membrane on your roof needs to have the ability to stretch to accommodate movement, especially if you have a high-rise or steel building, and cover cracks that may develop over time in the concrete. Manufacturers determine elongation by a percentage. If the material has an extension rate of 150%, it can stretch up to 1.5 times beyond its natural shape.
- Breathability: Waterproofing that’s too effective can trap water inside your building if moisture accidentally leaks through. Look for a membrane that prevents water from passing through it, but allows vapor to leave.
- Resistance to tears: Even if your material has a high elongation percentage, it can tear from a considerable force. Your waterproof membrane should be durable enough to withstand heavy wind and rainwater.
- Resistance to abrasion: Besides tearing by force, the material also needs to withstand wear and tear from everyday use. You could determine a material’s abrasion resistance when workers drop nails, screws and heavy objects on it during construction. If rough objects can rip it, the membrane will bring leaks into your commercial property.
- Chemical stability: The membrane should withstand chemicals from nearby industrial areas and fallen debris. If the membrane isn’t chemically inert, it could break down in the presence of soil and building materials.
- Geometry: The waterproofing membrane needs to have the flexibility to fit around your uniquely shaped roof. A liquid membrane would work best in this case because it can take any form. On the other hand, a sheet membrane can fold and crease, leaving gaps between the membrane and underlay.
Houck is dedicated to safety, quality, and performance. We’re here to keep your facility clean, dry, and safe with superior waterproofing services. Get in touch with us today!
Common Types of Waterproofing for Your Roof
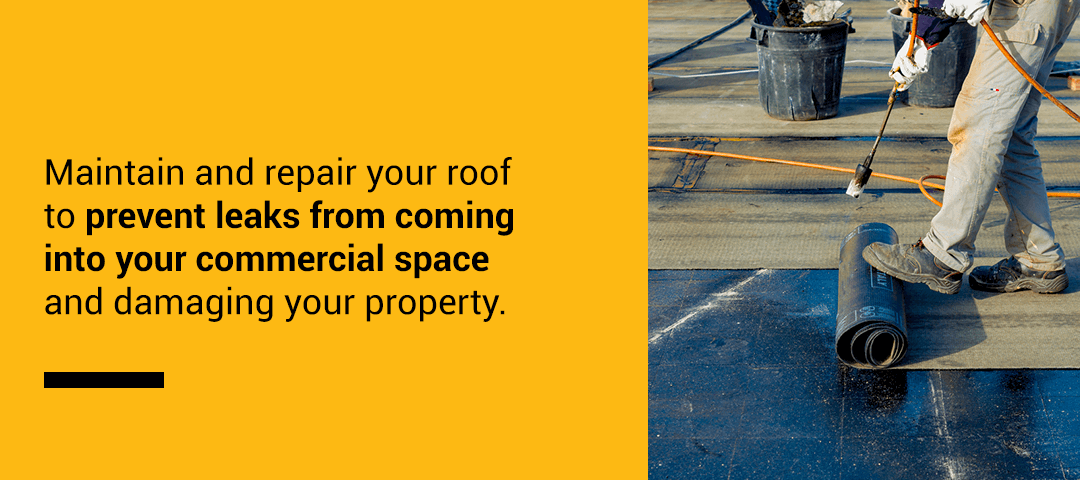
Maintain and repair your roof to prevent leaks from coming into your commercial space and damaging your property. You can apply a sheet of bituminous material or polyurethane liquid waterproofing. Consider the advantages and drawbacks of each to determine which is best for your roof.

1. Bituminous Membrane Waterproofing
A bituminous membrane sheet made from asphalt with a mixture of sticky organic liquids performs excellently as a waterproofing agent for a low-sloped concrete roof. Manufacturers carefully seal and pack these sheets in a factory, and they arrive on-site in roll form. Read the specifications and safety instructions before you begin the installation process. Since you apply it by torch, you need to consider fire prevention and safety during installation, removing all flammable objects from the site.
During the application process, unfold the bituminous waterproofing membranes and lay them firmly on the surface. You could either use a self-adhesive product or attach the membrane to the surface with a blowtorch. The layer of bituminous waterproof membrane shields against water seepage onto the roof. Then, apply roof tiles and the membrane over the filler material to provide adequate water flow into the drains.
Here are some of the advantages of using bituminous membrane waterproofing.
- Resistance to UV heat: Bituminous membrane waterproofing won’t lose its integrity in warm, sunny climates.
- High elongation percentage: Most membranes must have an elongation of 150% to accommodate structural movements, so it’ll protect your roof, even if cracks develop.
- Excellent flexibility: A sheet made from bitumen is flexible enough to take any shape once laid. Since it has high flexibility, it won’t crack, dent or break in harsh weather.
- Resistance to chemicals: This type of waterproofing won’t deteriorate in the presence of debris or factory chemicals.
- Resistance to punctures and fatigue: Whether a considerable force or heavy objects impact the membrane, it has a high tensile strength to withstand ripping and breaking.
- Excellent breathability: Bituminous membrane waterproofing keeps water and vapor out of your commercial building.
- Cost-effectiveness: The installation of bituminous sheets tends to fit within your commercial budget. Since it lasts a long time, you won’t need to replace it as often.
2. Polyurethane Liquid Membrane Waterproofing
Polyurethane liquid membrane waterproofs your flat roof, especially in unpredictable weather conditions. Craftspeople put this on a roof with a thin coating or primer and top coating using a trowel, roller or spray. Its durability depends on which polymer type the manufacturer uses, but it generally lasts a little longer than a couple of decades. When applying polyurethane liquid to your roof, make sure you wear protective equipment on your hands, eyes, and mouth.
Here are some of the advantages of polyurethane liquid membrane waterproofing.
- Ease of installation: The application process typically takes one day, so you can quickly have a waterproof commercial roof.
- Watertight seal: Polyurethane liquid membrane waterproofing doesn’t create joints, so there’s less room for water to seep through it.
- High elongation percentage: Polyurethane liquid membrane stretches up to 280% to accommodate the building’s natural shifting. High-rise buildings or ones made from steel may shift.
- Excellent flexibility: It’s more flexible than other materials, so it can be more resistant to cracks when the building moves. This material offers a seamless waterproofing membrane. It fills all capillary gaps, decreasing the absorbency and hardening its surface.
Ensure you’re using the best waterproofing solution for your roof. Contact Houck today!
Materials Used for Waterproofing
Manufacturers use various materials for both bituminous membrane waterproofing and liquid polyurethane.
1. Bituminous Sheets
Bituminous membrane waterproofing comes in a variety of layers. Choose a top surface from one of these materials to protect the membrane from damage.
- Sand: This material installs easily, and it provides a waterproof, chemical-resistant seal on top of the membrane.
- Slates: Using a membrane with this aesthetically pleasing, reliable material will enhance your commercial roof’s visual appeal.
- Talc: Including talc as the top layer of your waterproofing membrane increases its dimensional stability and durability.
- Polyethylene: This material prevents the panel from sticking during storage and transport, but you can also use it as a protective layer.
- Aluminum: Manufacturers typically install strands of aluminum in a bituminous membrane to seal penetrations and provide optimal waterproofing for your commercial roof.
The next layer, the polymer-bitumen compound, usually consists of one of these materials.
- Atactic Poly Propylene (APP): APP Modified Bitumen is a plastomeric waterproofing material that contains a mixture of bitumen and selected polymers, resulting in excellent UV and heat resistance and waterproofing properties once you torch it onto the roof.
- Styrene-Butadiene-Styrene (SBS): SBS Modified Bitumen is a plastomeric waterproofing membrane that protects concrete surfaces from moisture damage. This membrane is impermeable to water and very flexible around uniquely shaped roofs.
The next layer of bituminous membrane waterproofing is its reinforcement, made from one of these materials.
- Fiberglass: A dimensionally stable reinforcement core of non-woven fiberglass can protect concrete surfaces from water damage, especially in warm, tropical regions.
- Polyester: This material has a high elongation percentage and provides optimal strength to the membrane. Polyester resists thermal shock, fatigue and punctures.
2. Polyurethane Liquids
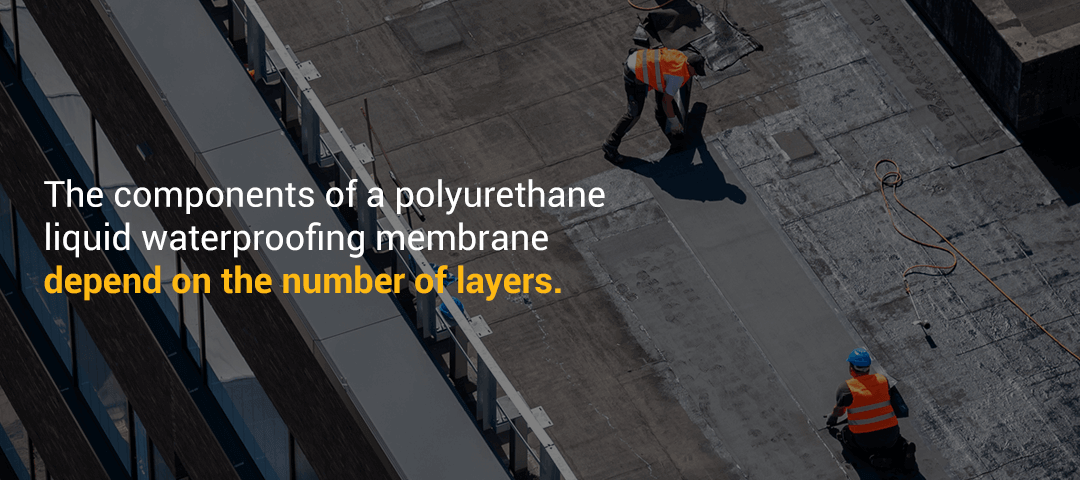
The components of a polyurethane liquid waterproofing membrane depend on the number of layers. Review these common materials to find the most efficient application for your roof.

- Water-based liquid membranes: This health-friendly, energy-efficient membrane provides excellent UV stability and easy application, especially if your building is in a moderate or warm climate.
- One-component polyurethane liquid membranes: Polyurethane’s flexibility in low temperatures and its ability to cure in various conditions allows you to use it in your location. This material saves time during the installation process.
- Two-component polyurethane liquid membranes: You can apply this material with a two-component spray machine for efficient installation if you have a large roof. It dries and cures rapidly, so you can resume activity in your business space.
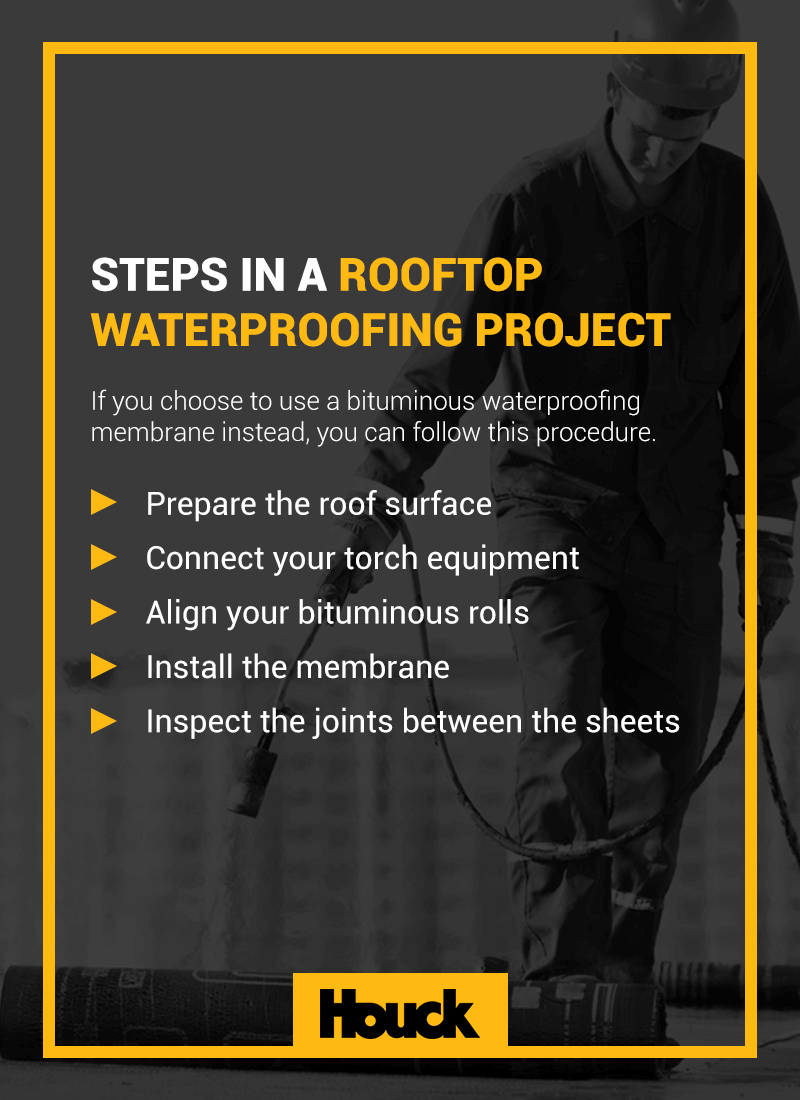
Steps in a Rooftop Waterproofing Project
We’ve compiled a list of steps for your applying a waterproofing membrane to your roof. Houck provides commercial waterproofing services to make the process easier. Follow these steps for using a liquid membrane for your flat commercial roof.
- Clean out the substrate: Cleaning the surface allows a liquid applied membrane to adhere well. Pressure-wash the substrate to clean it and remove debris, dust or grease that could compromise the adhesion. You can also inspect the roof for blemishes that affect its resistance to water damage.
- Prime the surface: Apply a primer to the surface to enhance the membrane’s adhesion. Primers can also prevent the bituminous oils from bleeding through to the membrane. Before the craftsperson applies the primer, they make sure the surface is dry. To speed up the drying process, they might use torches or an air blower.
- Treat the roof’s details: You must treat all components before applying the liquid membrane. These details include the interior and exterior corners, wall-to-floor corners, metal flashing terminations and penetrations — such as pipes, vents and drains. Embed reinforcing fabric into the liquid membrane, or use a flashing-grade sealant. Make sure you cure the materials before applying the coat of treatment.
- Apply the liquid membrane: Some liquid membranes need fabric reinforcing mats underneath before installation. The application, substrate porosity, temperature and waste affect the liquid membrane’s consumption rate. You might want to apply granules if you live in a warm climate, because they can keep your building cooler.
- Inspect the roof: In most projects, a craftsperson needs to inspect the application at each phase. They’ll check the primer’s coverage, the pull-out and mock-up, the detail treatments and the applied coating millage. They must consider the wet film thickness during application to ensure they use the right amount.

- Prepare the roof surface: Clean and dry the top of your roof before applying the membrane. You must install it in pleasant, warm weather, considering your roof’s slope so that water doesn’t flow to the joint lap edge.
- Connect your torch equipment: The hose of your blowtorch should be in good condition. Use soapy water to ensure no gas leakage. When using the blowtorch, set it at the lowest possible setting to avoid sudden flames.
- Align your bituminous rolls: As you apply the sheets to your roof, avoid wrinkling the material, and align them properly.
- Install the membrane: Apply the torch fire uniformly and slowly over the roll as you lay it.
- Inspect the joints between the sheets: Ensure the joints properly adhere to the end laps of the membrane to prevent air gaps. If there are any spaces, lift the sheets, heat them with the torch and reseal them.
Take your next step and choose Houck for quality roof waterproofing services. Get in touch with us!
Roof Drain Overflow Code Requirements
When waterproofing your roof, you need to follow drainage and ponding codes to prevent damage. It could become damaged if you don’t have enough drainage to get the water away from the building. Consider these regulations from the International Institute of Building Enclosure Consultants as you approach waterproofing.
- Section 1503.4 — Roof drainage: This code indicates that you need to design and install your roof drainage system in compliance with Section 1503 and Sections 1106 and 1108 of the International Plumbing Code. Section 1106 refers to the regulations for the size of conductors, leaders and storm drains, while Section 1108 provides rules for the presence of secondary, or emergency, roof drains.
- Section 1503.4.1 — Secondary, or emergency overflow, drains or scuppers: If your roof requires an updated draining system, you should install a secondary roof drain or scupper. You would need this application if the roof’s perimeter construction extends above it, and the primary drain traps water and allows buildup. Adding this system will prevent the top of the building from collapsing during harsh rainstorms. Like the primary drainage system, your emergency overflow drain needs to comply with Sections 1106 and 1108 of the International Plumbing Code.
- Section 1503.4.2 — Scuppers: You can install scuppers on the roof to allow water to flow out of parapet walls or gravel stops on built-up or flat roofs. If you use these components for secondary roof drainage, size their roof drainage, inlet elevation, quantity and location to keep the water from accumulating above the level outlined in Section 1611.1. Scuppers must have a maximum dimension of four inches.
- Section 1611.1 — Design rain loads: Design each part of the roof to hold the weight of rainwater that accumulates if the primary drainage system has a blockage or the uniform load rises above the secondary drainage system’s inlet.
Houck Can Waterproof Your Commercial Roof
Schedule your next waterproof roofing project in Central Pennsylvania with Houck. Our craftspeople specialize in making your commercial building safer. With more than 70 years’ experience, we know the right waterproofing materials. Contact us online or call 800-458-2122 for a comprehensive estimate.